Spotlight
$14.99 Overlays & Elements, Tools
Highlight & magnify subjects in videos and images automatically in DaVinci Resolve.
Product Type: Effects
Supported Orientations: Landscape
Supported Resolutions: HD, 4K
DaVinci Resolve Version: 19 and above
Overview
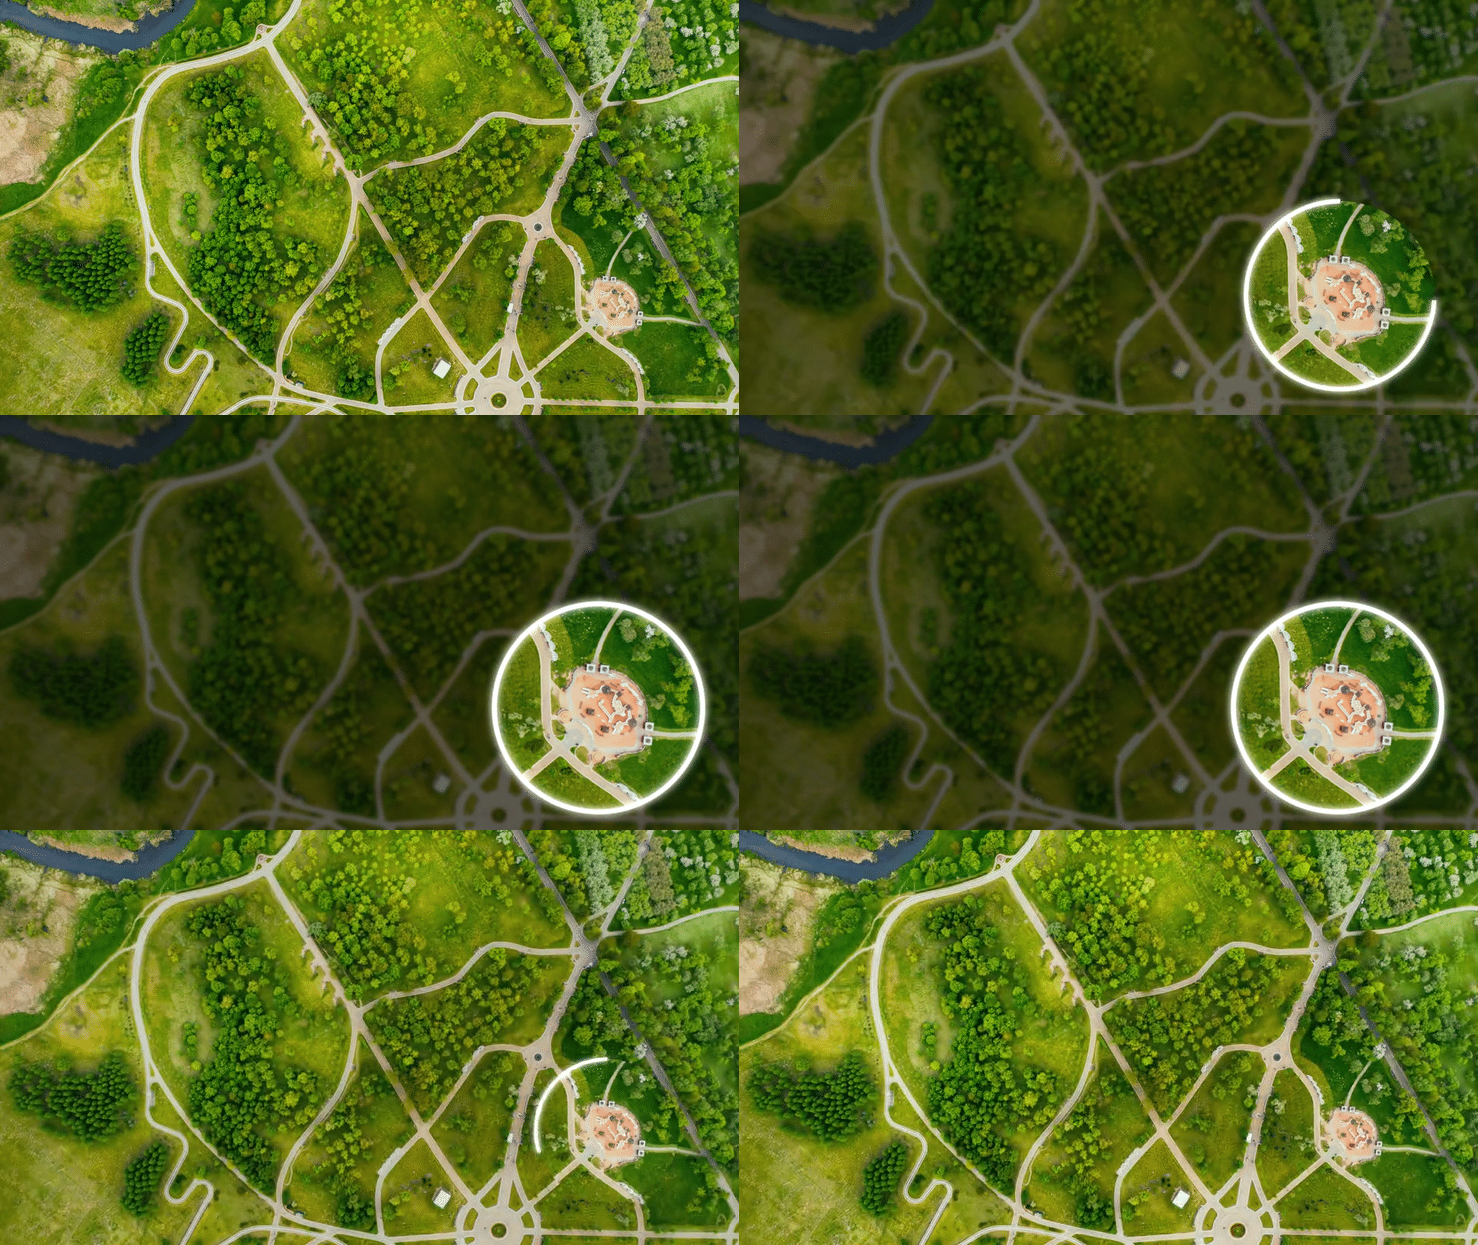
Spotlight Tool for DaVinci Resolve lets editors create a magnification effect to highlight subjects in video clips and images. This tool is perfect for drawing attention to a specific portion of videos and images.
If you are a Content Creator or make Explainer Videos, this tool will help you in creating tutorials, reviewing a document, or building a high energy presentation, the Spotlight Tool does the heavy lifting. You can give your videos that professional, polished look all without ever leaving the Edit page.


What Makes Spotlight Tool Different?
The Spotlight effect tool automatically controls all aspects of the animation, including the in and out animation. It allows to editors to customize multiple aspects, and tool will animate all the parameters automatically. Simply drag and drop, choose the region you want to magnify and you’re done.
- Choose Your Preset: The effect comes with four dynamic shapes to cover any need: the Circle, the Dash Circle, the Rectangle, and the Dash Rectangle. Just drag and drop your choice onto your clip.
- Choose the exact region: Quickly adjust the shape to perfectly frame your subject, whether it’s a tiny icon or an entire paragraph.
- Animate with One Slider: The core magic is the Animation slider. By simply key framing this one control from 0 to 1, you generate a smooth, professional spotlight reveal. You can keyframe it back from 1 to 0 to make it vanish just as smoothly.
Customization Options
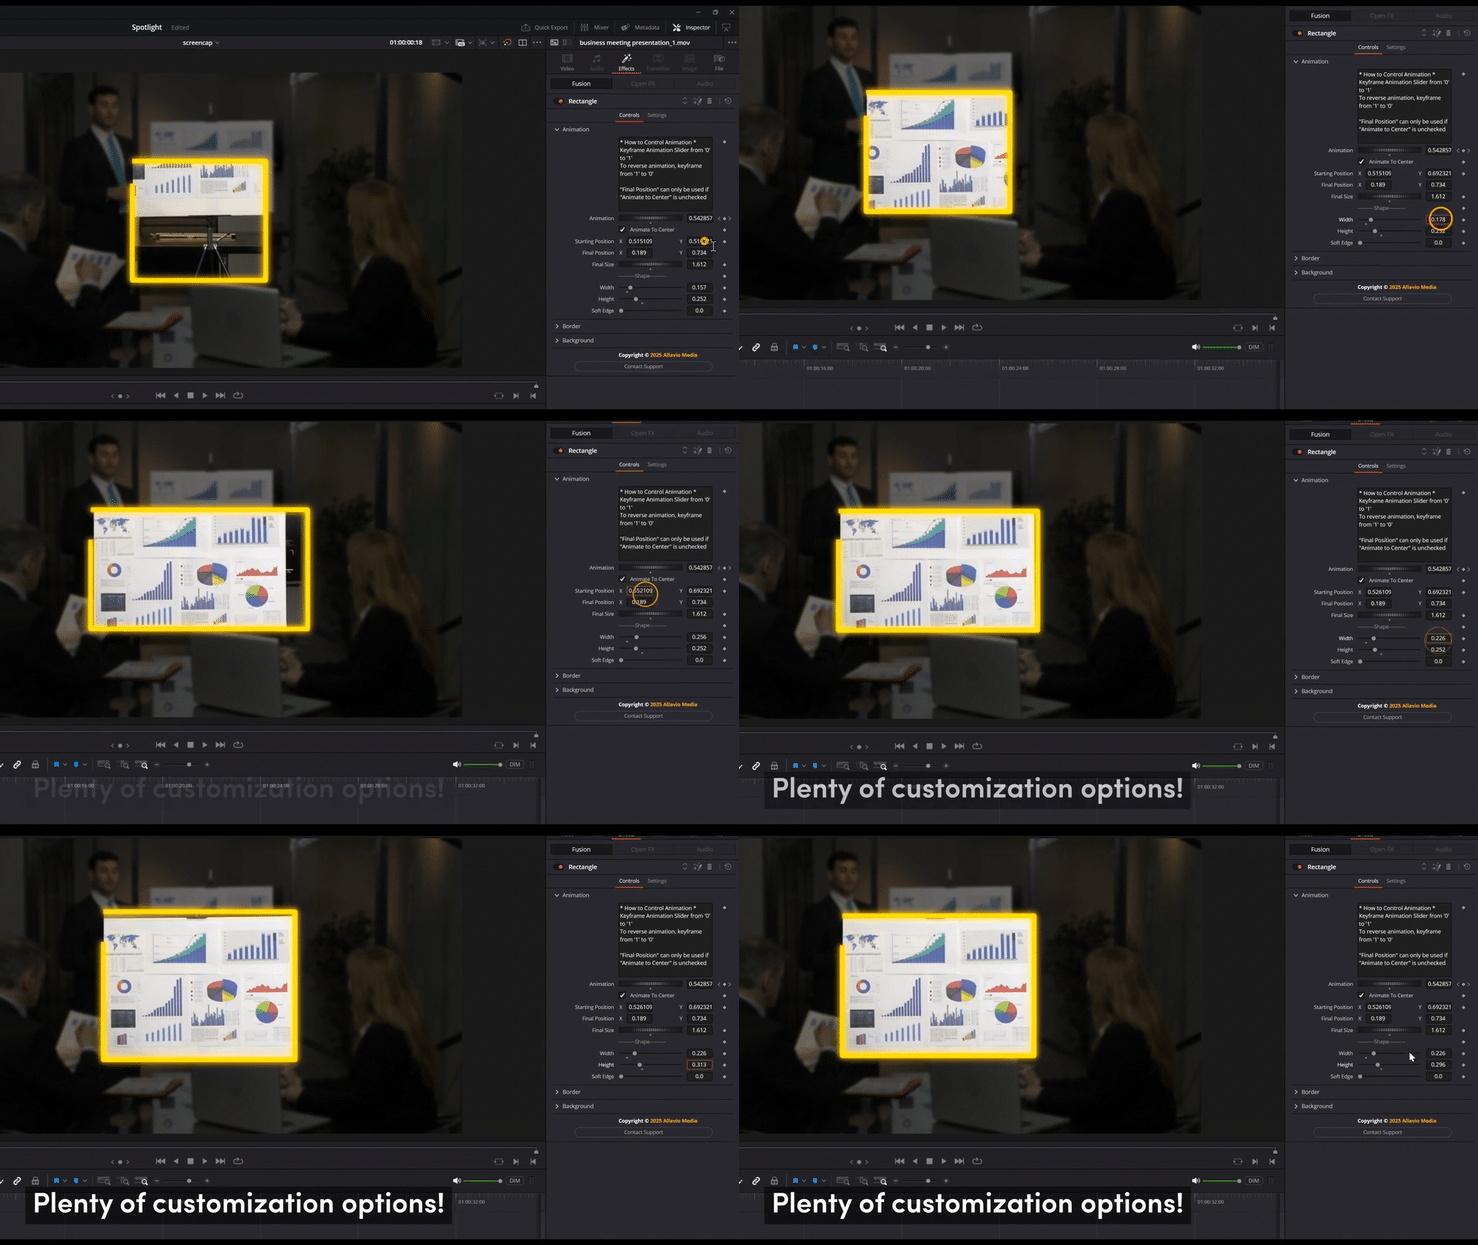
What makes this template truly powerful is the level of customization packed into its intuitive controls, visible right in your Inspector panel:
Animation Controls
- Animation Slider: Your master control. Keyframe this from 0 to 1 to drive the entire spotlight intro and outro.
- Animate to Center (Checkbox): This simple box determines the spotlight’s behavior. Checked (default), the spotlight animates to the center of the screen. Unchecked, you gain access to the Final Position controls.
- Starting Position & Final Position (X/Y): Use these to precisely define where the spotlight starts and ends on the screen, giving you full control over its movement path.
- Width, Height, & Final Size: Adjust the shape’s starting and ending dimensions for dynamic scaling effects.
- Soft Edge: Feather the inner edge of the spotlight to create a smooth transition between the focused area and the darkened background.
Stylization Options
- Border Width & Color: Fine-tune the thickness and hue of the spotlight’s frame.
- Glow (Threshold, Gain, Size, Blend): These detailed controls allow you to add a subtle, professional light bloom around the border or create a dramatic, intense halo effect.
- Brightness: Easily darken or brighten the area outside the spotlight to any level, magnifying the main subjects even further.
- Blur Strength: Customize the blur amount of the background to draw focus to the main portion of your clip.

How to customize Spotlight
Watch the video tutorial to learn all the customization and options needed to make the effect work, and learn creative usages of the effect.
How to use Spotlight Effect
Installation
- Locate the downloaded file and double-click Spotlight - Allavio.drfx
- DaVinci Resolve will open automatically and prompt you to install the template—click Install
- That's it! The generators are now available in your Effects library
For detailed installation instructions, follow our how to install DaVinci Resolve templates guide.
Workflow and Video Tutorial
- Find the Effect: In DaVinci Resolve's Edit page, click the Effects button (top-left toolbar), then navigate to Effects > Allavio > Spotlight. You'll see all 4 presets rectangle, rectangle dashed, circle, and circle dashed.
- Drag to Timeline: Click and drag any of the preset effect onto your clip.
- Locate the effect: With the clip selected on the timeline, open the Inspector panel and click on the Effects tab. Here you can see all of the customization settings possible.
- Customizations: As soon as you start playing your clip, you can see that the effect is already highlighting a portion of your clip. Go to 10 frames into your clip, and star customizing the Start Position - this is where the initial effect starts from. Next, customize the Width and Height, or if it's a circle preset, select the size you'd like. Next go towards the end of the clip where the effect holds itself on the screen and choose the Final Size control. This will be the final size your clip will end at. Next, you will see a Animate to Center checkbox - the effect automatically takes your initial highlighted section and zooms it to the center. If you'd like a custom ending positon, uncheck the checkbox, and customize the Custom Center control to specify wheret the effect should end.
- Animation: This effect's animation duration, which includes in and out animation, is fully customizable. The Animation Slider control works as follows: Key frame the animation slider from 0 to 1 to create the IN animation, and key frame it from 1 to 0, to create the out animation. You have full control of when the animation comes in, how long it stays on the screen, and when it exits out. The effect automatically manages the rewinding of all the effects, controlled by your key frames.
- Stylization Controls: There are stylistic controls for border, background blur and brigthness.
Watch the video tutorial to learn more

